Hi!
In a fit of nostalgia I pulled some of my old Epic collection out of my display cabinet and had a quick game using my own rules so without further ado, here's the battle report!
Background
While the Inquisition are probing the sewers beneath Farpoint's capitol Freeport City, Lieutenant Bolivar of the Ultramarines has been dispatched to defend one of the planets outlying settlements from a raiding party of traitor Marines.
Arriving from the north west, his scouts report that there is a force of the Sons of Titan rapidly approaching from the south and east and Bolivar begins issuing orders to his small force. The traitors will not ravage Jango's Landing while a single Ultramarine draws breath!
The Forces
Lieutenant Bolivars force consists of one command stand, two tactical stands, a Centurion battle suit and a land speeder.
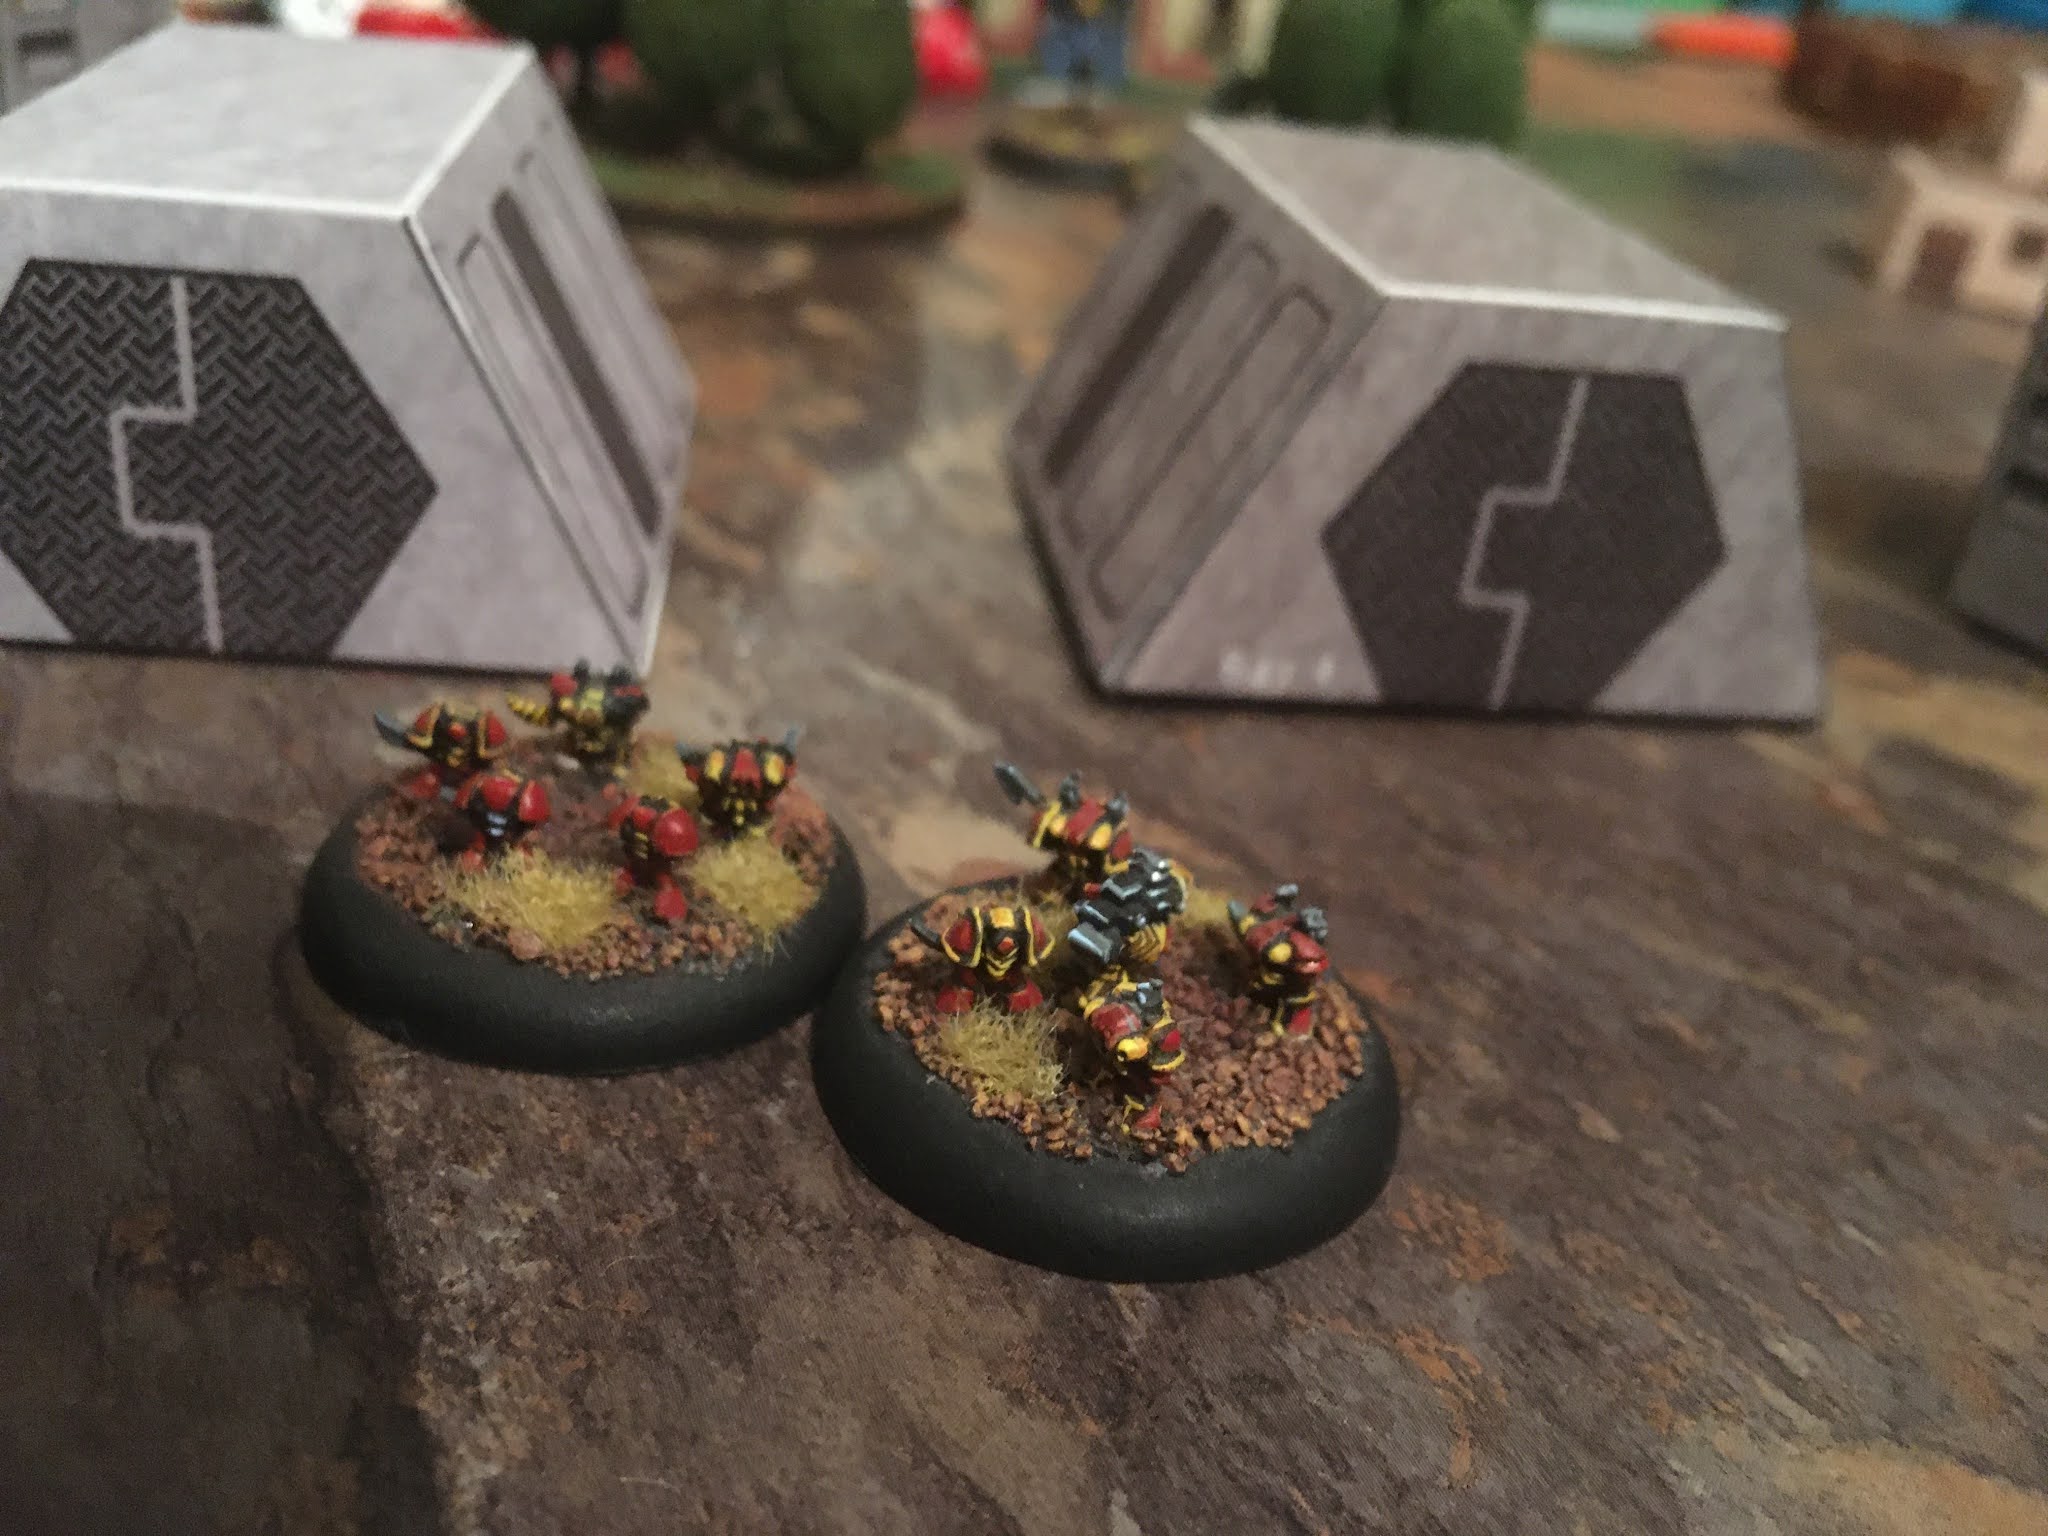
The Sons of Titan are lead by Konnix Darkslade, Champion of Titan. His force consists of one command stand, two tactical squads (one of which has a missile launcher upgrade), two rebel Squat squads and a Rhino APC.
Now these may seem like piddly forces for an Epic scaled game but I'm quite a fan of playing small games in the scale and looking at the two forces, they are about the size of a 2nd edition 40k force just scaled down.
The Setup
The game takes place in the town of Jango's Landing and as such there are a number of buildings scattered about the board which provides heavy cover for those occupying them. I didn't bother coming up with any scenario objectives, with the winner being whoever drove off the other force.
The Ultramarines deploy in the north west whilst the Sons of Titan arrive in the south east of the board. The board itself is 2'x2' and I was keen to see if I could play a game using such meagre space.
The Game
Aware that his force is outnumbered, Bolivar splits his tactical squad into two combat squads allowing for more flexibility and orders his forces forward. Like Epic Armageddon, a unit may activate normally and can then be pushed by passing a command check. If they succeed, they may activate a second time but if they fail, they receive a blast marker.
Turn one saw the Sons of Titan Space Marine squad rushing forward into the towns industrial zone, no doubt in search of supplies to loot. Their commander Konnix is distracted by his comm unit's snarled warning that Imperial troops are approaching his position and fails to activate while the forces Rhino speeds along one flank and the Squats move forward towards the town centre.
The Ultramarines begin to deploy with the two combat squads moving forward towards the town along with the command squad, who like the chaos commander, fails his activation check. The Centurion clanks forward towards the rock spires that overlook the towns northern edge, preparing to bring down heavy fire on whatever traitor he sees. Finally the Ultramarine speeder skims south towards the woods, intent on bringing some hurt to the traitors they detect moving towards the warehouses.
Turn two has activations swap between both sides fairly smoothly with the Ultramarine speeder rapidly closing on the traitors positions whilst both sides begin to consolidate their positions with the Ultramarines moving further into the town and occupying several buildings, preparing to use them as defensive redoubts to pour fire on the traitors when they approach.
The traitor Rhino speeds forward into the town, seeking shelter from the Ultramarine Centurions heavy weapons systems and the traitor marines close in on the warehouses chanting songs of battle as they do so.
Turn three has the action starting to hot up with the Ultramarine speeder making a drive by attack on the traitor marines but their fire only succeeds in placing a blast marker on the Sons of Titan.
The failed attack is costly as the outraged renegades pour through the gap between the warehouses and rain fire into the loyalist skimmer and despite desperate evasion measures is sent spiralling to the ground in a ball of fire as bolter shells find it's engine. Chanting and bellowing, the traitor marines prepare to move on the main Ultramarine position.
Brother Vexus, the Ultramarine manning the Centurion battle suite spots the renegade tank but is unable to get a fix on it as it thunders behind a nearby building but his sensors do allow his weapons array to lock onto the traitor Squat squad and he proceeds to blaze away with his heavy bolter, shredding one of the stands and sending the traitorous survivors reeling.
Turn four has the traitors Rhino rapidly approaching the loyalist position and this time Brother Vexus can draw a bead on the tank and his heavy bolter fire shreds the machine.
Enraged at the loss of their tank, the Sons of Titan marines storm forward firing on one of the Ultramarine combat squads with their missile launcher causing no casualties but inflicting a blast marker on the stalwart defenders as the missile blasts a large hole in the building they are occupying.
Return fire from the marines is out of range and they hold their position, forcing the chaos marines to advance on them in the next turn.
Meanwhile the traitor Squats finally rally back in the chaos deployment zone and the renegade commander Konnix moves forward as fast as he can to support his renegades who are engaged in a fierce firefight in the town centre.
Turn five begins with the Sons of Titan marines rush into a series of buildings opposite the Imperial positions and open fire on the second combat squad. The ensuing firefight is savage and both sides take blast markers but the combined weight of fire of the Ultramarines as well as some poor rolls by the Chaos troops sees them wiped out.
Approaching the scene of the firefight, the rebel commander Konnix realises that his men have been slain and the Ultramarines are in possession of the town and that no doubt reinforcements are on their way. Cursing the loyalist scum, Konnix gathers up his surviving marines and retreats towards their landing zone, vowing revenge upon the Imperium in general and the Ultramarines in particular.
Conclusion
Well I had quite a bit of fun with that game and things went well for the staunch defenders of the Imperium! I need to rework the command system a bit as the renegade commander spent much of the game failing to activate due to poor rolls so will need to take that into account in future games.
Konnix should have deployed in the Rhino and stormed forward with his renegade marines as I feel the combined force would have probably been able to overwhelm the Imperial positions but I sent it off by itself to distract the Centurion and stop him blowing away my marines.
I've really enjoyed playing in 6mm again and suspect that I'll be dusting off more figures in the future to play some slightly larger skirmishes and may need to make a stand to represent some of the assorted warbands that I have in 28mm scale as it would be great to have games using different scales to represent small encounters on the battlefield or as part of a larger campaign where the action hots up with a rebel uprising or xenos invasion forcing the different warbands to choose a side!
In other news I'm working on a load more sculpts for my fantasy project and should have some more stuff to show tomorrow but until then, All the best!


No comments:
Post a Comment