Thursday 23 February 2023

Colostle Season 2, Episode 4: An Investigator's Interlude

 Hi!

Here's the mini campaign that I played over a couple of sessions that covers the investigation of Greem Garnell into the reason for all the unexpected Rook activity in the area around Beacon Bay!

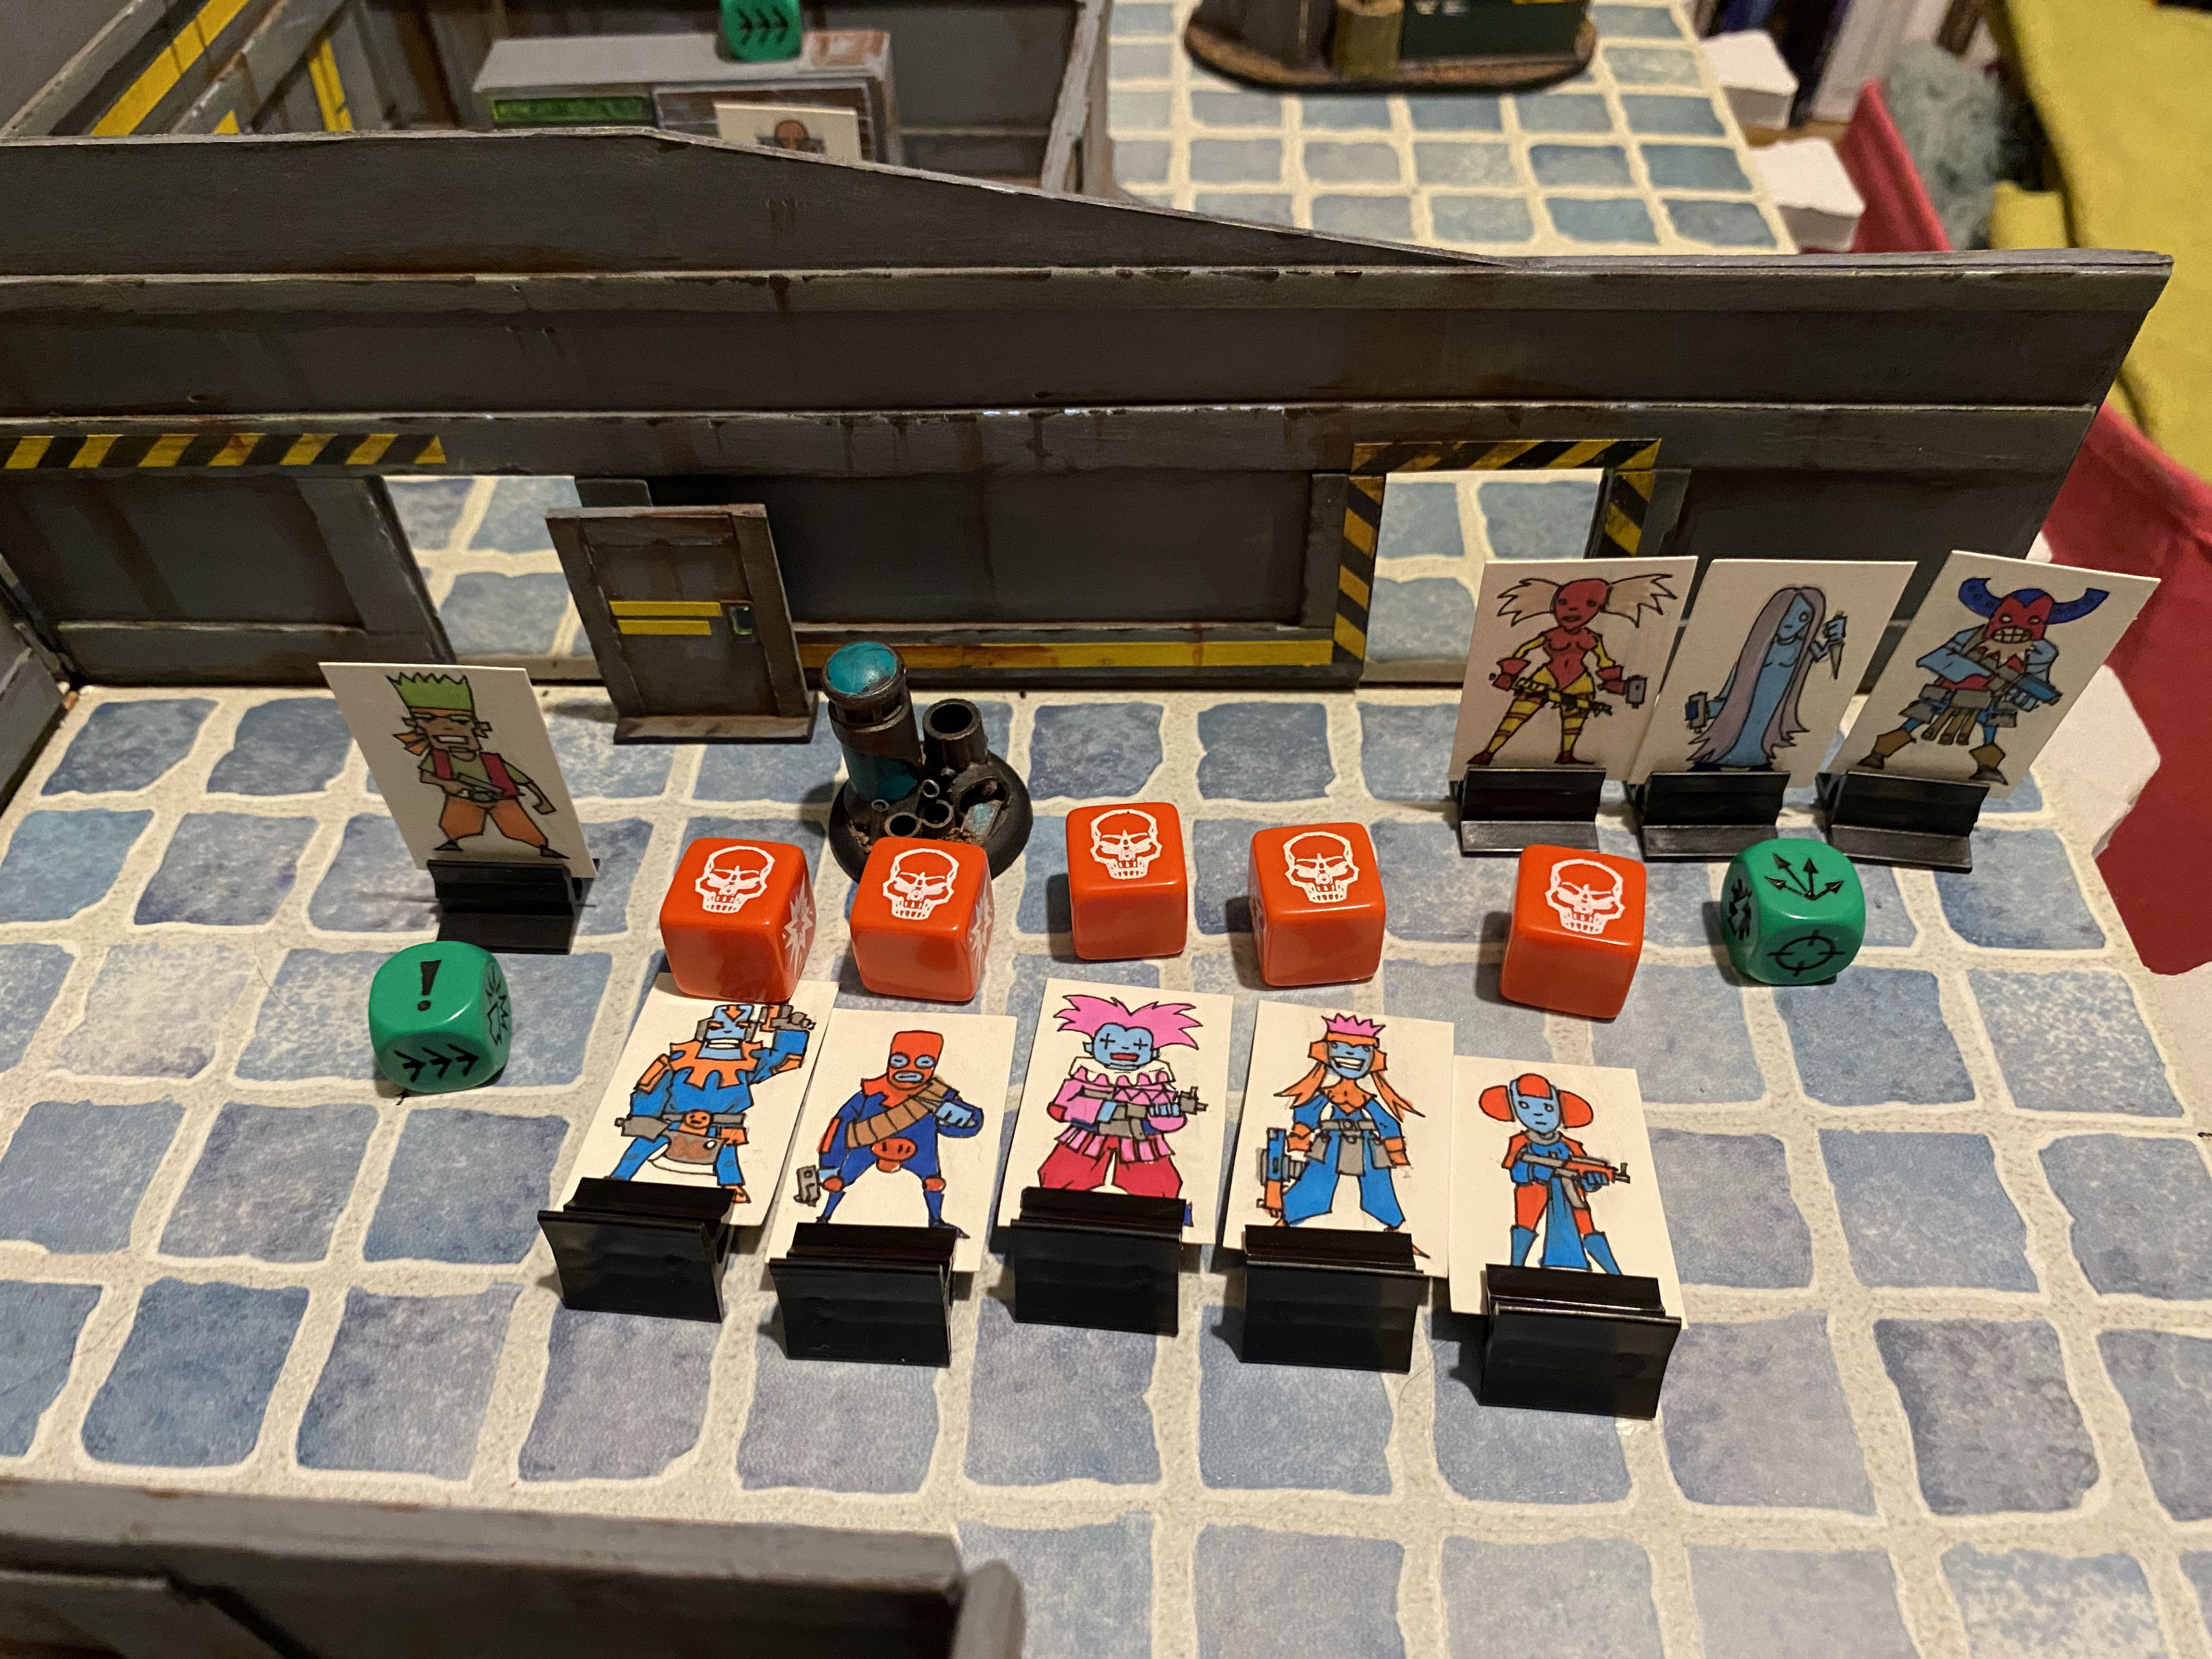
I used Tricube Tales, a freely available mini RPG that I found. Its super simple and I added some extra elements using my Rory's Story Cube collection.

The Scenario

Greem has decided to investigate the reason for the Rooks menacing the town and the strange dreams that afflict the inhabitants. The morning after the Golem Adventurer sets sail, Greem is summoned to the Silver Violin by the mayor who has received an unsettling note accusing him of murdering his old business partner in the dead man's own hand.

There are 12 locations around the town to investigate and clues to be found at each scene which will hopefully identify who or indeed what is causing the mayhem.


The Locations 

The Silver Violin Tavern
Abandoned Smythe Warehouse
Main Gatehouse
Rookery Island
The Mayor's Residence
Fisher Row
The Beacon
The Fish Market
Temple of Lumenor
Corn Gate
The Hunters Guild

Each location can be investigated by choice or the character may find themselves travelling there by circumstance as the investigation develops. 

Greem Garnell

Greem is equipped with a knife and carries a spyglass, tub of grease and pack of salt, being a superstitious sort (I rolled up his equipment using Cairn, another freely available RPG that I have found. The items may come in useful or not but add a bit of interest to the character!)

The Game

Scene 1, The Silver Violin Tavern. 

The Silver Violin Tavern

I arrive at the tavern mid morning and find the mayor slumped at the table, a note clutched in his trembling hand. As I approach he looks up and beckons me to join him. It appears that the note was found pinned to Beatrice the Gravediggers door at sunrise and she had immediately brought it to him.

Orthrax Smythe, Mayor

I ask if it is a genuine signature and the mayor shakily nods that it is but before we can discuss the note further, there is a commotion at the door and the unkempt form of Beatrice the Gravedigger rushes in, leading a pair of guards. She shrilly accuses the Mayor of murder and despite my protestations, the guards bundle the mayor away to the Rookery, a fortified island that lies in the harbour. 

Beatrice the Gravedigger

Handily during the altercation, I am able to pocket the note and order a coffee from the barkeep and sit to peruse it's contents. It is short and to the point and accuses the mayor of leaving his partner to die in the Scrapyard to the north and is signed by the man himself (CLUE!).

As the fussy barkeep bemoans the upset that the arrest has caused to the reputation of his tavern, I decide to ask if he's heard of any strange occurrences in the town and he says that the first people to have the dream of the Rook that spells doom to the town lived near the Mayors warehouse down by the dock (CLUE!).

Finishing my coffee and telling the man to put it on the Mayors tab, I saunter out and head towards the Smythe Warehouse, followed by cursing from the affronted barkeep.

Scene 2 The Abandoned Smythe Warehouse

The Abandoned Smythe Warehouse

As Beacon Bay isn't a large settlement it doesn't take long before I find myself standing outside the padlocked door of the Smythe Warehouse. Realising I am going to have to resort to a bit of breaking and entering, I settle in a secluded spot to await nightfall. As the shadows lengthen, I continue my watch but the street remains quiet and nobody approaches the building. 

Eventually evening arrives and I make my move. I give the lock an experimental shake but it doesn't move and appears to have rusted solid. Reaching into my pocket, retrieve a small tub of grease and a bent nail and begin attempting to pick the lock but to no avail. Cursing I walk a circuit of the building as unobtrusively as possible and eventually spot a small window high on one wall at the rear and with a bit of scrabbling manage to squeeze through the opening.

One inside I begin carefully looking around, wary that there may be something lurking in the gloom. My fears are assuaged when it appears to be empty of anything but dust. Something on the floor catches my eye and as I move closer I realise I am looking at a runic mark and due to a misspent youth, recognise the array as something that will both attract Rooks and bring misfortune on the recipient of the cursed script. As I look on it begins to glow a faint blue (CLUE!).

Cursing I realise that while the mayor is safely ensconced in the Rookery, his wife is still in their residence and whoever created this array means to do harm to the mayor or his family. I spring up to the window and eel my way through but my spyglass falls from my pocket and lands with a clatter on the inside of the building. Fuming, I take to my heels as I need to get to the mayors house as quickly as possible to avert whatever ills the villain has in store.

The Mayors Residence

 The Mayors house is at the other end of the settlement and I run the entire way, lungs burning at the effort but I soon reach the house. It is brightly lit and there doesn't appear to be anything amiss but I hammer on the door none the less. A frightened maid opens the door and when I ask to speak to her mistress, she informs me that the lady of the house had left a mere 15 minutes ago to visit a friend in Fisher Row.

Fisher Row

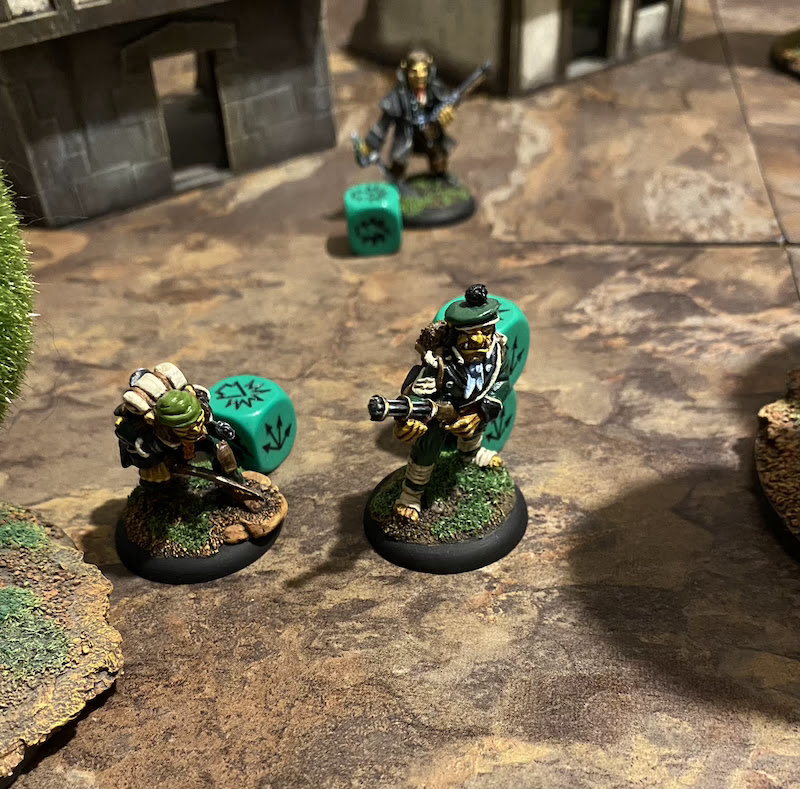
Once again I take to my heels and am soon at the wharf that marks the famous Fisher Row, the residences of the Five Fisher Families of Beacon Bay. I slow down as I approach, my ears pricked for any signs of danger and I pause as I hear a heavy tread moving in my direction. Slipping into a shadowy alley just in time, I see a large man emerge from the gloom carrying a faintly struggling figure over his shoulder. 

Not sure what is going on but leery of the scene, I draw my dagger and approach the figure. Suddenly the man spins and sees me. Without waiting for me he hefts the figure on his shoulder off and hurls it into the briny water of the harbour.

I swing my knife at the man as he lurches past but think I've missed and fling myself into the water after the bundle. The water is shockingly cold and dark and for a moment I fear I won't find what I am looking for but my hand locks on the collar of the figure that the stranger had tried to kill.

I strike for the surface and begin dragging the unmoving form to the dock and judging by the noise and lighted lanterns, my struggle has drawn the attention of the inhabitants. As I approach the wharf, strong hands reach down and aid me in pulling the figure up onto the dock. It is the Mayors wife and while pale, she does appear to be breathing and as the fishermen gather to ask what is going on, a strident call stills them.

Drevell Crumwaller

It is Drevell Crumwaller, the Matriarch of the Crumwaller Clan and a force to reckon with. She demands to know what is going on so I quickly tell her what has occurred and she calls for her folks to take the woman inside and put her to bed and bring me a brandy. The mayors wife is unconscious but will live and I must continue my investigation.

Looking around I see a trail of blood leading away from the scene (CLUE!). My blade must have caught the assailant after all and I cautiously follow. 

The trail leads to the Temple of Lumenor on the Eastern edge of town and skirts the main building and heads towards the High Priests dwelling which is built up against the outer wall of the settlement.

The Temple of Lumenor

As I approach, I can see the door is lying wide open and I cautiously enter, knife ready to fend off an attack but the place seems to be abandoned. Could the High Priest of Lumenor be somehow involved with the case and if so why? I continue my search and other than some interesting documents which reveal that the priest is skimming from the temples finances, I don't find anything suspicious until I reach the rear of the property. Hidden behind a wardrobe that has been pulled aside, I see a passageway leading through the outer wall and out into the darkened Roomland beyond. (CLUE!)

Fully aware that travelling the Roomlands at night in search of a desperate fugitive is not a good idea, I make myself as comfortable as possible and wait out the night observing the hole in the wall.

Scene 3 The Temple of Lumenor

My vigil is in vain as nobody has attempted to re-enter through the secret passageway and I stiffly shuffle out of the priests quarters only to bump into a sleepy looking deacon who boggles at me as I tell him to go and get the watch as the walls have been breached.

He takes to his heels, sandals slapping on the paving and soon the watch arrives and I explain everything that has occurred in the last twenty four hours. Initially skeptical they change their minds when I show them the passageway and a guard is immediately posted whilst the remaining troops go to look outside the walls for any sign of shady deeds. 

The sergeant in charge, eyes me suspiciously and we both jump as a cry from outside breaks the silence. The search party has found a body. It is the High Priest and he is lying in the field outside town with an arrow in his neck and is very dead (CLUE!).

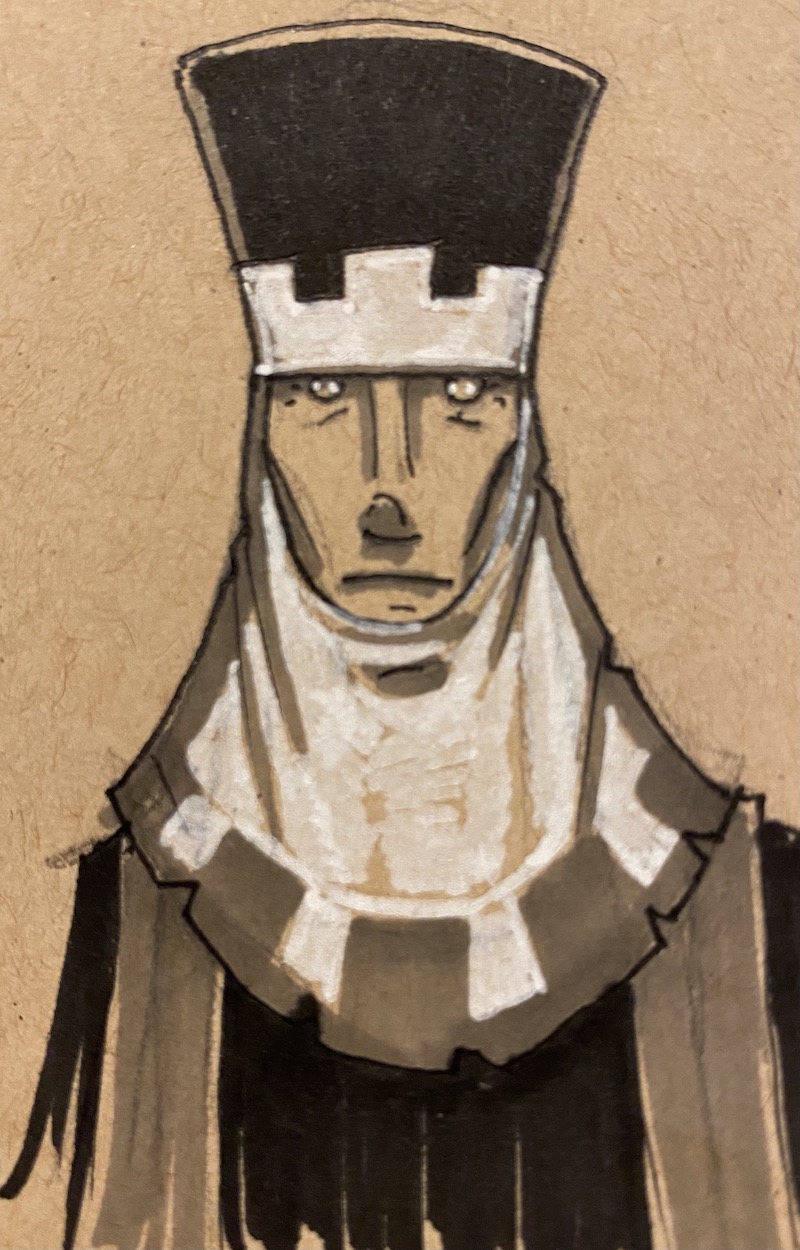
Melnax, High Priest of Lumenor

Cursing, the sergeant orders his men to secure the body and prepares to march me off to the Rookery for some questioning. Sighing but putting up with his in my opinion, block headedness, I agree to go with him but ask that he speak to the Crumwaller's on the way as they will prove the outlandish story I'm telling is true.

Somewhat begrudgingly, the man agrees and we parade through town back to Fisher Row with a small crowd of onlookers openly ogling the party as we go. Matriarch Crumwaller is less than impressed to be woken at the crack of dawn by a bunch of louts but does substantiate my story and the guard releases me before setting off to report to their captain.

Turning to me Mrs Crumwaller suggests I should go home and change as I look and smell like a bilge rat but informs me that the mayors wife has slept throughout the night and will be able to talk later today. Bowing grandly to the woman, I head back to my quarters to bathe, have a bit of a nap and change into something that doesn't smell so bad.

Scene 4 Fisher Row

A few hours later refreshed by a bath and nap and several cups of black coffee, I return and prepare to interview the Mayors wife about the events of yesterday evening. Escorted by the somewhat disapproving Mrs Crumwaller, I greet the Mayor's wife, Wenlan. She is pale and propped up in bed but smiles wanly as I sit and proceeds to tell her story.

Wenlan Smythe

The previous evening she had been sent a note, purportedly from Drevill Crumwaller inviting her to tea and she had set off, despite the unusual manner of the invite as Drevill would usually come herself with any invitation. She states as she approached Fisher Row, someone grabbed her from behind and pulled her into an alley before a pungent smelling rag was forced over her mouth and nose and the next thing she knew she was waking up in the Crumwaller house.

Mrs Crumwaller pointedly states that she sent no message but is relieved that her friend is safe and the pair thank me for my actions of the previous evening. I wave away the praise with a slight flush and continue the interview.

I ask her if there is any bad blood between her husband and the high priest and she shudders, stating that her husband had been threatened by the man but she doesn't know why and that she never liked Melnax as he was a cold and unpleasant sort (CLUE!)

She then says that her husband kept a journal in his office at their residence and while she is still too feeble to accompany me, she writes a note to her butler instructing him to provide me with access and aid in my investigation. 

I rise to my feet, thank Wenlan with a kiss to the back of her hand and florid bow, much to the disapproval of the Crumwaller matriarch who tuts and ushers me out into the street and I set off to the Mayors house to continue my investigation.

Scene 5 The Mayors Residence

I arrive outside the Mayors residence and find the place locked and dark. I knock on the door but there is no response and I try hammering on the door but it remains firmly locked. Sighing, I break out my lockpicks and set to work on the door. Fortunately it is no match for my skills and I open the door with a flourish before freezing as a grizzly discovery is revealed inside.

The mayors butler lies dead next to the doorway and has obviously been stabbed repeatedly. He appears to have been dead for several hours and I swear quietly before drawing my knife and edging into the darkened building. Skirting the corpse, I make my way through the house methodically checking each room before moving on until I reach the mayors office. It has been thoroughly ransacked and as I look through the chaos, I see a burned scrap lying in the fireplace. 

It appears to be the charred remains of the mayors journal and I manage to fish it out of the ashes and although it is badly burned, there is just enough for me to find that the mayor was searching the town covertly in search of some form of treasure but the rest of the entry is gone. (CLUE!)

Fuming that once again I am too late to find out more, I move onto the master bedroom and as I enter I hear a stifled sob coming from a wardrobe. I freeze and tighten my grip on my knife before edging over the the wardrobe and hauling it open. Inside lies the maid who had answered the door yesterday. She appears uninjured but is clearly terrified.

Shakily she explains that she was upstairs when she heard a commotion downstairs and arrived at the top of the stairs just in time to see a man stabbing the butler.

Realising she was trapped, she hid in the wardrobe and over the next few hours heard the man wrecking the mayors study before he left the house, locking the door behind him. She recognises the man as being an artisan who visited the mayor several weeks before but doesn't know his name but gives me a description of a stocky man with dark skin and a shaved and scarred head. (CLUE!)

I escort the girl out of the building, shielding her from the sight of the dead butler and re-lock the door behind me before escorting her to her mistress on Fisher Row before setting off to the Rookery to report the murder and seek an interview with the Mayor to try and finally get some answers.

Scene 6 The Rookery

The Rookery is a fortification that lies just outside the harbour and is intended to defend the settlement from attack and plays host to a garrison of troops from Bannervale who are charged with the towns protection and as I am rowed across the strait by a loquacious ferryman, I ponder on the whereabouts of the killer as although I now have a description of the man who killed the butler and ransacked the mayors study, is he also the one who is responsible for the slaying of the high priest, Melnax? It seems unlikely as he couldn't have left the settlement via the secret passage in the temple grounds and re-entered as the town gates are sealed during the night. 

I am torn from my thoughts by the guards shouting a challenge and nimbly leap to the jetty as they approach. I tell them my tale and am escorted to the captains quarters. 

Captain Sunderman

Captain Sunderman is unimpressed by my story but calls for his sergeant to dispatch men to the Mayors house to secure the scene and move the body to the temple. He also instructs his men to check with the main gate to see who has left or entered the town durning the last twenty four hours and if anyone matching the description of the scarred and shaven artisan has been seen.
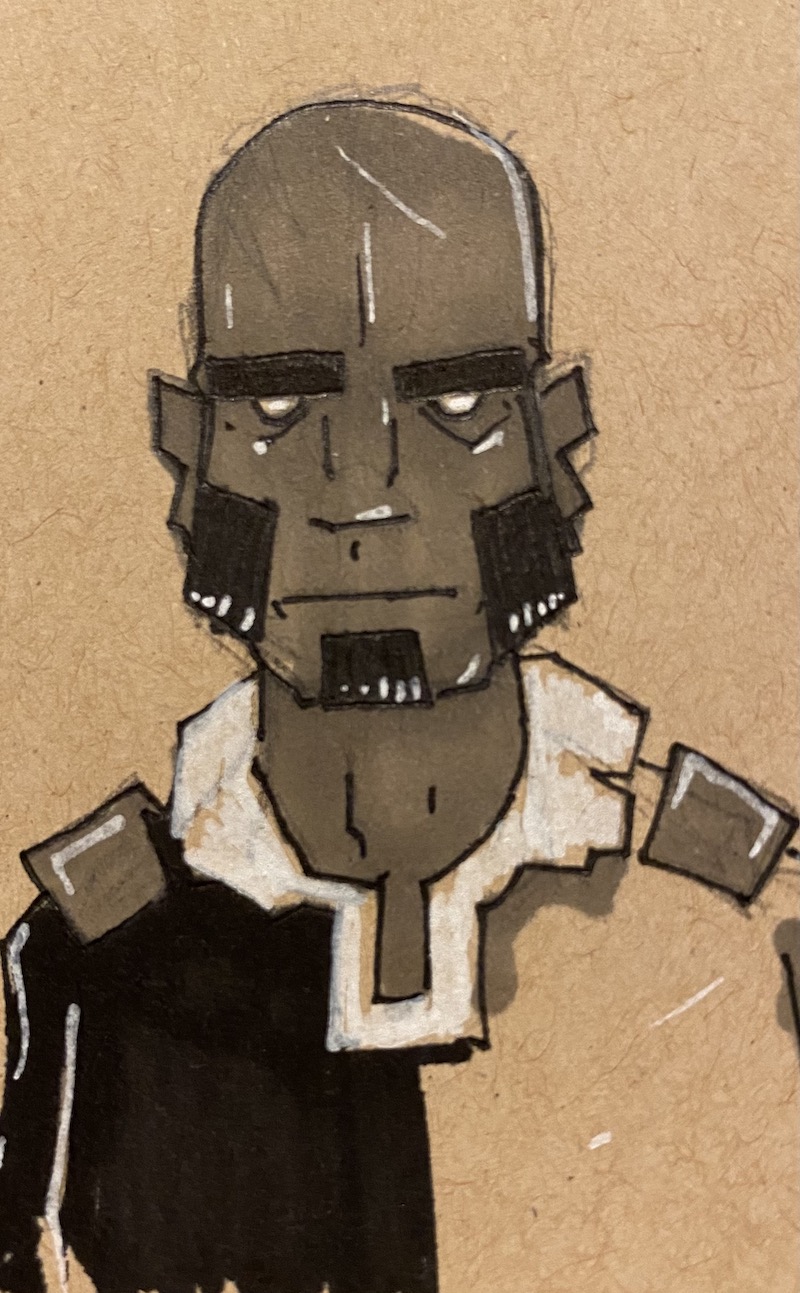
Rubbing the bridge of a nose that has obviously been broken and set squint at some point in the past, Sunderman glares at me and says he has repeatedly interviewed the mayor and he claims to know nothing but suspects he is hiding something and agrees to allow me to speak to the man on the proviso that anything I learn will be shared with him, especially if it involves the safety of Beacon Bay or Bannervale.

I am led to a small cell that sits high in the tower of the Rookery where I see the mayor sitting dejectedly on his cot, his head in his hands. He stirs when the door is opened and looks up as I enter, a spark of hope in his eye which promptly dulls when I tell him of the attempt on his wives life the previous evening and the murder of his butler.

The news seems to crush the man and he takes a deep breath before telling me the truth of him and his partners falling out. The pair had spent many years together searching the scrapyard to the north in search of salvage to aid the town and had eventually found an unusual core in the husk of an ancient Rook. The mayors partner, Archibald Tolman had become obsessed with the core as he believed it could unlock the possibilities of creating tame Rooks and the pair had amassed a cache of cores that they stored in the Smythe warehouse but Tolman's increasing obsession concerned the mayor as he felt the man was taking too many risks out in the scrapyard and demanded he see sense and stop what he was doing.

Tolman cursed him for a fool and left the settlement the next day, claiming that he was going to the scrapyard to find a suitable workshop to continue his research. The mayor visited the warehouse the same day and discovered that it had been emptied of the cores and all of Tolman's research notes.

The mayor says that some weeks later the gravedigger, Beatrice had found Tolman's effects and a large pool of blood on the northern road and had raised the alarm and everyone assumed that the man had run into a Rook or bandits out of the safety of the town and met his end somewhere in the scrap.

Realising that if bandits were involved, the town could be in danger, the mayor had began a covert search of all the places he could think that Tolman could have hidden the cores within the walls but had come up empty. Somehow the High Priest had become aware of his search and in an unpleasant exchange had made some not so veiled threats to the mayor that if the cores weren't handed to the temple, dire consequences would follow.

Arwel the Artisan

Around this time, he was approached by a man called Arwel, an artisan who had settled in the town in the months following Tolman's disappearance. The man had asked for work but the mayor claims the man had a dangerous look to him and had turned him down. The next day the letter from the dead man had been delivered to him by the Gravedigger who claimed she had found it pinned to her door. (CLUE!)

He claims that on more than one occasion he had seen the man in the company of the High Priest and had been suspicious of his sudden interest in working in the mayors household.

I leave the cell, reassured that the mayor doesn't seem involved with the murders I tell him that his wife is safe with the Crumwaller's and return to Captain Sunderman's office to report my findings. 

He is concerned that there seems to be at least circumstantial evidence that there are bandits operating in the town and announces that he will be ordering his troops to be on the lookout for Arwel and will be conducting a thorough search for the missing cores.

As he informs me this, there is a knock on the door and his sergeant enters to inform him that nobody has left the settlement since yesterday when the Hunters Guild expedition left via boat to hunt down the Rook menace.

Nodding his thanks he dismisses the sergeant and turns to me with a grim look. He thanks me for the work I've done thus far and says that he will be collecting the Mayors wife and maid from the Crumwaller's and moving them to the safety of the Rookery until the perpetrators are caught. Realising that the meeting is ended, I take my leave and catch the ferry back to the docks of Beacon Bay.

Scene 7 The Corn Gate

The Corn Gate

I find myself wandering through the town. The inhabitants are still busy about their tasks but it is obvious they have been unsettled by the events of the last few days and I end up stood atop the parapet of the Corn Gate, the fortified gatehouse that leads from the Temple of Lumenor out to the fields beyond the town where the High Priest met his end.

I know the man was somehow involved with the bandits but why did they kill him? With this thought in mind, I decide to talk to the remaining priests to see if any of them can shed any light upon the man and why he would ally himself with bandits.

I nod to the guard outside the building and make my way inside and catch the eye of the deacon I had met the previous day, he approaches and asks if the killer has been found yet and I say no but we do have a suspect. He seems relieved and I casually ask him about Melnax. 

The deacon says that Melnax was always a cold and aloof man who seemed to be more interested in the power of his office than any holy duties or piousness but pauses and apologises for speaking so ill of the dead but I motion for him to continue and he reveals that the last time he spoke to the man, he had found a small badge in the mud outside the Corn Gate when he was bringing the temples flock of sheep in for the evening from their grazing. The badge portrayed a black tower and I freeze at his words and ask if he still has it. (CLUE!)

Shaking his head he says that he had taken it to the High Priest to show him it but the man had snatched it off him and cursed him for disturbing him with trinkets he had found before ordering him to leave him in peace.

Having spoken to the Golem adventurer EM-RY5 of his encounter with the Order of the Black Tower I realise it isn't just bandits I am dealing with but something much more dangerous and decide that I need to go and speak to the Gravedigger Beatrice to see if she has any further information.

Scene 8 The Main Gate

The Main Gate

Beatrice the Gravedigger lives in a small shack outside the towns walls, claiming that she is cursed and doesn't want to share her misfortune with the inhabitants of Beacon Bay so I make my way to the main gate and inform the guard of my intentions and grudgingly they open a small portico that will allow me to exit the town but warn me to be on my guard as they cannot guarantee my safety outside the town.

I nod my agreement and move off at a brisk pace along the cliffs to the west as the guards watch on from the rampart. 

The Gravediggers Shack

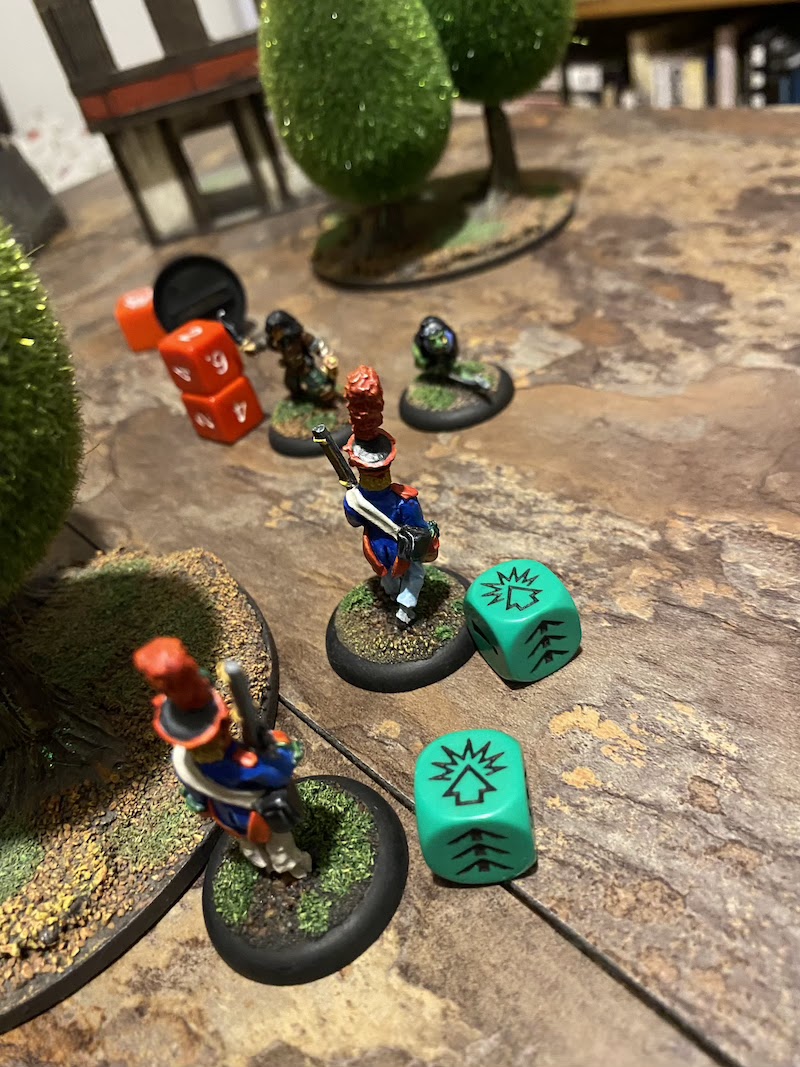
The shack is a few minutes walk from the town gates and stands in a copse of trees next to the roadside but as I approach I hear a commotion. I kick the door in but the window suddenly explodes out and a figure leaps out and runs towards the trees.

I spare a glance at the interior of the shack and see Beatrice the Gravedigger is dead, a dagger still stuck in her chest before I turn and take off after the fleeing man.

I chase him further into the woods that skirt the north road until we burst into a clearing which seems to have been a camp and I see a cog bike as the man leaps for it. In my desperation to catch the killer, I fling my knife and it flies true, catching the man in the lower back, he staggers and falls and as I catch up he rolls onto his side and I see it is Arwel. I have caught the killer but he is clearly dying as blood seeps from the wound and as I try to staunch it, he groans, shudders and lies still.

Sighing, I retrieve my knife and stand up. Looking around I feel decidedly uneasy as I am aware that the man couldn't have been working alone. I hear a commotion approaching through the wood behind me and lift my dagger, prepared to fight when I see reinforcements have arrived in the form of members of the watch from Beacon Bay. Sagging with relief I discover that the sergeant who had been in charge of the gate had watched my departure and then seen the man bolting from the shack and had ordered a patrol to head out with all haste to follow.

We search the camp as well as the corpse of Arwel but discover nothing of note before transporting both him and his effects back to the town. We stop on the way to look in at the gravediggers shack. Beatrice is indeed dead so we head back to the main gate to find the captain waiting for me.

Conclusion

Sitting with the mayor in the captains office in the Rookery, we discuss my findings. It appears that the there were two different killers at work, both seeming to be working towards discovering the whereabouts of the missing Rook core. I do not know if they were working in concert or against each other but it is clear that they had enrolled both Melnax the high priest and Beatrice the Gravedigger into the conspiracy and somehow the Order of the Black Tower is involved.

I surmise that Beatrice must have discovered the missing and almost certainly deceased Tolman and managed to find out something of the Core but not its location and she had produced the note that had set the whole case going to ensure the mayor was out of the way so her companion or companions had free rein to search the town. However I don't believe they found it as my investigation had interrupted their efforts. 

One of them must have been skilled with magic as the Sigil I discovered that had afflicted the town proved to be quite potent but I am not sure who it was but suspect Melnax to be responsible and he was killed when his usefulness was over and tried to flee.

The archer who ended his life is still at large as we didn't discover a bow in the camp so at least one of the assailants is still at large but I am more confused as to why Beatrice the Gravedigger was killed as she had obviously been working for the enemy for some time and I suddenly leap to my feet as I realise something.

Captain Sunderman merely raises an eyebrow at my antics but the Mayor seems startled by my sudden agitation and I say I'll explain everything as soon as we get to the Gravediggers hut and we must get there quickly and will need some guards to help.

The expedition sets out immediately and within half an hour we stand outside the sorry shack of the departed Beatrice. Excitedly I explain that Beatrice didn't just find the missing Tolman, she looted his corpse, possibly realising what he had was incredibly valuable and had been playing off the bandits with clues and hints but never revealing that she was in possession of the Core the entire time. 

Remember she told everyone she was cursed? The Core has obviously had some sort of effect on the woman which means she kept it close to her but hidden from view so while Captian Sunderman orders his troops to form a perimeter, in case of unwanted company, the Mayor and myself begin to search the shack.

The process is not particularly pleasant as Beatrice was not a particularly cleanly woman and the shack is dismal and rather unkempt but eventually we discover what we are looking for under the floorboards beneath the woman's bed. It is a Rook core but deep purple and it glows dimly. The Mayor gasps and says this is the core his partner Tolman had discovered and reaches to pick it up. I seize his hand just in time and point out that anyone who touched the thing was cursed and is now dead so we retreat and pick up a spade that was lying outside and use it to lift the object from its resting place. with care I heft it out of the shack and into a bucket.

Whatever the Core is made of, I want nothing to do with it and neither does the Mayor or Sunderman so we take it back to the Rookery and Sunderman sends for a lead lined chest to keep the thing in until a more permanent solution can be found and orders it be kept locked in the deepest dungeon of the Rookery until an expert can be sent for from Bannervale to make it safe or destroy it.

As we come to this conclusion, a shout comes from outside and we troop to the parapet to see the hunter Candlewick's ship limping back into port. It appears that the Golem EM-RY5 has had as an eventful few days as we have.

Final Thoughts

Gosh! The mini campaign played out over two sessions but typing it up and creating the artwork was a lot more work and has taken me ages to get finished but I've really enjoyed playing a different sort of a game than usual as my investigator Greem seems to have spent his time quite enjoyably and I didn't know how things were going to play out until literally the last roll of the dice!

Now EM-RY5 and Greem have new leads to follow as they have to track the bandits into the mysterious depths of the Crackway, the Scrapyard has to be traversed again to clear the way for travellers again and get aid in dealing with the mysterious Rook Core. There's also the prospect of investigating the next roomland and finding out the motivations of the Order of the Black Tower and EM-RY5 needs to continue his quest to find a way to protect his hometown from Rook attacks!

I suspect that my adventures are going to keep me entertained for some time to come and I still need to write up the five days of my Golems Campaign Log to reveal what he found out in the sea with the aged hunter Captain Candlewick. Hopefully I'll get the chance to post that up at some point in the not too distant future but in the meantime, All the best!

Sunday 19 February 2023

A Slight Diversion Into the World of Valon

 Hi!

I've been run of my feet of late but have managed to play a quick game of Planet 28 using my small Flintloque collection.

The game involved a squad of Ferach Voltigeur's attempting to ambush Leftenant Sharke with some 95th Rifles and a small band of Guerrillas. 

Ferach Voltigeur Squad

Sharke's 95th Rifles

Dark Elf and Goblin Guerrillas

The Setup
The Ferach deployed in the south east edge of the board while Sharke and co deployed on the north west and the guerrillas deployed at the north in the middle of the board.


The Guerrilla won the initiative and began sprinting for cover but didn't make it before the ambushing Ferach opened fire on them with the lead knife wielding freedom fighter to take a direct hit from musket fire taking her out of action.

The remaining Elves either fired ineffectually or rushed to outflank the onrushing Guerrillas while Sharkes Orcs jogged forward to get into range in the next turn.

The next turn saw Rifle Orc Tunge aimed and fired but missed his mark and Harpy opened up with his volley gun but the somewhat shocked Elf took only a couple of points of damage, despite the volume of fire aimed at him. Sneering at his troops ineffectiveness, Sharke aimed and fired at a distant Voltigeur and grinned savagely as his bullet found its mark and the hapless Elf was sent crashing to the ground in a fountain of blood. 


The now somewhat spooked Elves returned fire with one managing to badly wound another of the rapidly approaching Guerrillas but they continued their charge despite the hail of fire.


Said Guerrilla, a badly wounded knife wielding young lady piled into the Voltigeur who had wounded her and proceeded to knife him to death while her companion, a particularly ugly Goblin called Sanchez hurled himself at the remaining Elf but his enthusiasm didn't result in him actually managing to hit the Elf so the melee swirled on.


On the other side of the board, the Rifle fire began taking its toll and a second Elf turned tail and ran after being sorely wounded by the rapidly approaching Orcs but their companion, possibly made of sterner stuff, held his nerve and took a pot shot at Sharke as he rushed to close and managed to score a critical hit doing 15 points of damage and leaving the Leftenant badly wounded.


The final action of the game saw the lone Elf fighting the two Guerrillas fail to hit anything with his musket butt and was in return taken out of action.
 

All in all, the game took about 40 minutes and was brilliant fun and the action suitably bloody and its got me sorely tempted to rummage out my remaining figures to get a coat of paint on them as the Flintloque figures have just so much character that they almost paint themselves!

I have also finished a Colostle side adventure but need to finish typing it up so that will probably get posted up tomorrow so until then, All the best!

Saturday 11 February 2023

Colostle Season 2 Part 3: The Journey to Beacon Bay

 Hi!

Here's the next instalment of my Colostle Campaign!

Campaign Log Day 11

Following the encounter in the scrapyard, EM-RY5 sets off towards the settlement of Beacon Bay (I rolled it up randomly using Table Fables!) steadily descending the massive staircase but always on guard as there are more and more tracks of the bandits and rooks he's been tracking for over a week. The cluttered junk piles are obviously slowing them down which is possibly why the mysterious Dryad and member of the Order of the Black Tower set an ambush the previous day.

The Scrapyard on the Stairs

As he ponders on this, his new companion, the small floating Rookling he has nicknamed Bronwyn comes to a stop and begins worriedly chirping at him. Suddenly two Rooks burst from cover in the junk and lumber towards our hero.

The Pugilist 1

The first is a medium Rook and while it doesn't appear to have any magical attack focus, it is armed with a pair of massive crushing fists which it has raised and ready to attack. 

The Scrap Crusher

Its companion is massive and has a pair of what appear to be battering rams for arms. The ground shakes as the pair move but fortunately for EM-RY5 the cluttered terrain means only one can attack at a time and the medium Rook rushes to engage him.

The Rooks fist swings in an arc aimed at his head but EM-RYS is prepared and dodges the blow with ease and swings his own mace down on the extended limb. The weapon connects with a thunderous boom and smashes the arm off. While the Rook stumbles, off balance with the loss of a limb, EM-RY5 steps forward and rains blow after blow down on it and crushing it's core.

Before he can even catch a breath, the second massive Rook smashes the ruined Rook out of the way with a massive fist and is upon him. Fortunately the husk of the defeated Rook has slowed it's charge and EM-RY5 is able to dodge in and smash his mace into the massive machines knee. The Rook stumbles but keeps attacking and the melee swirls on with the Rook trying to smash the hero into the ground but EM-RY5 dodging each blow but unable to get close enough to strike back.

The ground suddenly gives way under the hero's feet and as he trips on some exposed cabling, the massive Rooks fist connects with his chest sending him flying. He lands with a crash into a nearby scrap pile and as he dazedly tries to reclaim his feet groaning as the pain blossoms in his chest. His armoured carapace has taken much of the damage but he knows he's been hurt badly. 

Bronwyn the Rookling

As he staggers out of the scrap, the massive Rook rumbles forward raising its fist to bring down on the hero and crush him to death. The fight is suddenly interrupted by a piercing shriek and a Gargoyle seizes up EM-RY5 and Bronwyn and soars up to the rafters.

The Gargoyle deposits the hero on the rafter and he has a brief sense of cool green vegetation before unconsciousness takes him.

The Rafters

Campaign Log Day 12

The next morning EM-RY5 wakes to find himself in a strange forest. The vegetation is as lush green with massive ferns, strange plants and tuberous growths while the rafter itself has a moss covered slab surface. Mist swirls thickly around and he realises he is above cloud level again. As he looks around he sees his Rookling companion bobbing nearby and as he hefts himself up, groaning in pain in the aftermath of both the beating he took at the hands of the massive Rook yesterday and having been buffeted by the Gargoyle as it carried him, Bronwyn floats over chirping happily and gently bopping his elbow.

Before exploring further, the pair are forced to seek shelter a storm blows in seemingly from nowhere. Looking up, he can see there are great sprinklers in the ceiling above and water sheets down in a torrent that lasts an hour and the hero is thoroughly soaked before it lets up. Fortunately the rain stops as quickly as it started and soon the forest is steaming as the heat of the great braziers that hang from the ceiling evaporates the rainwater.

As he begins to move along the poorly defined path on the rafter, an all too familiar shriek pierces the air and a Gargoyle swoops down and grabs EM-RY5 up in its talons but it is spooked by Bronwyn who unexpectedly unleashes an electrical charge at the stone beast and drops the hero. Unfortunately he misses the vegetation and lands with a crash on the pathway taking more damage. As he lies groaning, Bronwyn floats over and beeps sadly. EM-RY5 sighs and pats the Rookling before hauling himself gingerly to his feet. Not only is he somewhat winded by the fall he's also singed by the Rookling's electrical help.

It appears that the Gargoyle had a reason for picking him up though as he sees a rickety pipe that appears to lead down and back to the surface. The thing is a rusty looking deathtrap but EM-RY5 is badly in need of rest and the town he's headed towards is only a days walk once he gets back to ground level so grumbling, he begins the long descent, muttering about blasted Gargoyles and helpful Rooklings. Bronwyn floats after him tooting and chirping in agreement.

Campaign Log Day 13

Emerging from the rusty pipe back in the scrapyard staircase, EM-RY5 peers out from concealment. There doesn't seem to be any sign of the massive Rook he fought yesterday, something he is profoundly glad about as he is in no state to do battle with the beast he has nicknamed the Scrap Crusher and cautiously sets out down the stairs.

The terrain is still broken with large pieces of broken machinery and a river flows down in cascading waterfalls beside the switchback path he follows and more and more trees seem to be growing along its banks, their long frond like branches sweeping down into the water.

The settlement is only a days travel and EM-RY5 is beginning to feel a bit more confident as there has been no sign of the Scrap Crusher as the twisting pathway is far too narrow for the great creature to follow him. Somewhat worryingly there are no signs of the bandits he'd been following either but he reasons that he may have bypassed them via his unexpected journey to the rafters. Briefly he considers setting up an ambush for them as it would be rather poetic for the ambushers to become the ambushees but he's too badly damaged to face a battle so gamely limps on until he reaches a bridge that marks the end of the scrapyard.

Infuriatingly a medium Rook is ensconced in front of it and doesn't look like it's planning on going anywhere so with a sigh, EM-RY5 limps forward to fight it.

The Pugilist 2

The Rook appears to be a carbon copy of the medium Rook that had accompanied the Scrap Crusher in the skirmish in the scrapyard two days before. It appears to be waiting patiently for something or someone but as it sees me it lumbers forward fists raised.

All the distractions, delays, hurt and diversions of the previous few days boils up in the hero's chest and he bellows a warcry and rushes to meet the machine. Dodging under its swinging fists, he swings his mace as he charges and the head makes contact with the Rooks chest with a thunderous boom sending the Rook hurtling backwards.

As it hefts itself back to its feet, Bronwyn floats past chirping and buzzing angrily and unleashes a blinding bolt of searing lightning into the Rook sending it staggering back into the ground where it lies unmoving.

Cautiously, a flabbergasted EM-RY5 pats the small Rookling on the head before approaching the fallen Rook. The husk contains enough components for the hero to trade in the settlement ahead for parts to repair his badly damaged casing and he staggers on towards the settlement.

Within an hour he approaches the settlement but where he had been expecting a small fishing village, he sees a thriving town that sits on the shore of a sea. The town is built out onto the water atop a number of stone columns and the guards who stand watch rush to meet EM-RY5 as he approaches.

Beacon Bay

 Campaign Log Day 14 

Following a brief meeting with the towns mayor, EM-RY5 had been bundled off to the inn for a rest and repair. The Inn is well kept and called the Silver Violin and as he emerges into the main room the next morning he is met by a worried Mayor who tells him that he is the first traveller they have seen in almost a week due to the sudden appearance of multiple aggressive Rooks in the scrapyard between Beacon Bay and Bannervale. Seeing his battered state on the previous evening, EM-RY5 had shocked the inhabitants but his tale of fighting his way through the scrapyard has reassured them that aid has arrived.

The mayor explains that even before the Rooks in the scrapyard had begun acting up, the towns inhabitants had been having vivid dreams of a great Rook appearing from the sea to destroy the town and had sent to the Hunters Guild in Bannervale for help but the road had since been cut off and they had believed they'd been left to their fate.

When asked about bandits or mysterious Dryads, he states that nobody matching the description had been through the town so they must still be in the scrapyard outside town and worries that their activity may have got the Rooks riled up.

Having been badly mauled over the previous few days, EM-RY5 retreats to his room to rest and ponder on what has caused the Rooks to cut the town off so completely and what he can do about the issue. It is clear that he needs to go into the town to search for rumours and deal with the threat but he still needs to complete repairs on his badly damaged armour so puts off exploring until tomorrow.

Campaign Log Day 15 

The next morning EM-RY5 explores Beacon Bay in search of rumours that will guide him to both the Hunters Guild job he has and the quest that brought him to Balconia in the first place. The town contains an inn, merchants and Rook creche as well as a gourmet district that specialises in sea food but other than hearing variations on the same story, that everyone has dreamed of the same Rook and the town has not had any strangers or travellers visit within the last week or so, he finds out nothing.

Sighing, he heads to the local Hunters Guild. The guildhouse is ramshackle and the man behind the counter is ancient with mahogany skin and a profusion of scars and tattoos visible. Despite his age he clomps round the counter revealing he has a wooden leg and introduces himself as Captain Candlewick while shaking the hero's hand in a crushing grip and announces that he intends to head out to sea tomorrow to do battle with the Rook and suggests EM-RY5 can tag  along to give a hand. 

He further explains that the danger is a Rook that inhabits the deeps further out to sea, towards the doorway to the neighbouring Roomland and something has got it all riled up and its up to him and EM-RY5 as Hunters to deal with it before it threatens the town. 

Candlewicks boat, the Victory

Planning to meet at the wharf the next morning, EM-RY5 bids the crotchety old coot a good night and heads back to the tavern. As he sits in the tavern that evening, a small wiry man approaches. He has a large hat and red lensed spectacles and introduces himself as Greem Garnell, Investigator. EM-RY5 notes this is quite the grand title for such an unassuming figure but Greem smiles and offers to aid his quest as the town is going to suffer if trade between Beacon Bay and Bannervale cannot be re-opened. Similarly he is extremely worried about the fact that the entire town has been so effected by dreams and something must be causing it which needs dealing with as soon as possible. Therefore he suggests sharing resources and if he finds out anything he will share any results in his investigation with the hero. 

Realising the small man is serious, EM-RY5 agrees and the two part ways, EM-RY5 to go forth to battle a mysterious Rook and Greem to begin his investigation into the cause of the bandit activity and the mystery of the towns strange visions.

Well what an eventful few days our adventurer has had and he's found some companions to aid with his quest!

Captain Candlewick is only really a means for EM-RY5 to get out to sea at the moment but I quite like the character so he may get a bit more of a roll moving forward and Greem is going to be getting his own mini adventure using Tricube Tales, a free solo RPG set that I happened across and I'll see how things go.

I've really been enjoying playing Colostle as its allowing me to make up some really fascinating stories and I've become quite attached to my Golem adventurer and was quite concerned that he was going to die at the hands of the mighty Scrap Crusher but he's pulled through and is fully repaired now and ready for the next leg of his quest which I'll update onto here as soon as I get the illustration done but in the meantime, All the best!

Friday 3 February 2023

Planet 28: Death in the Throne Room Campaign Part 3

 Hi!

Following Inquisitor Fisher's arrival on Neo Trantor and the skirmish at the spaceport I managed to play the next game in the campaign which features General Shunt's goon squad raiding a nearby hab zone in search of the smuggler who had escaped in the previous game.

The smuggler had been wounded by Fisher but managed to flee to the Glamour Heights hab block, a somewhat rundown mega structure controlled by Baron Thaddeus's gangers in search of both medical aid and to drop off his cargo of contraband. 

General Shunt, having been on the receiving end of a verbal smackdown from an irate Inquisitor Fisher has dispatched his goon squad to raid Glamour Heights and grab the smuggler to get the ire of the Inquisition directed at someone else.

Early in the morning, a military flyer is dispatched from the space port crammed with troops and they jet towards Glamour Heights.

Again I used the scenario generator from Rogue Stars which gave me the idea for this scenario which requires the attackers to secure two rooms and the contents of them whilst fighting off the defenders who are scattered around the table.

The game began with Shunts transport opening fire on the 72nd floor of Glamour Heights, the suspected headquarters of Baron Thaddeus's gangers in the megastructure. The cannon fire from the transport blasted out the windows at the north west corner of the floor and Shunts goons, accompanied by a Killbot to give them some much needed muscle flooded in.

As the goons began to clear their way through the first room, they encountered the first signs of resistance as gangers began opening fire on them from several directions at once with small arms. In the ensuing firefight, one of Shunts goons was badly injured while the officer in charge was badly mauled by a cleaver wielding ganger and one recruit broke and fled back to the transport having taken a small amount of damage (half of Shunts forces are made of raw recruits who need to take a morale check each time they take damage and suffice to say, their morale isn't great. In the campaign I'm classifying them as raw recruits until they survive three games without being removed as casualties or fleeing)

Things were looking a bit bleak for the Goon Squad at this point but the Killbot lumbered forward and began blasting. Despite the fanatical resistance of Thaddeus's gangers, the armoured machine began to make short work of the lightly armoured crazies and buoyed by this, the Goon Squad redoubled their efforts. 


Sensing the change in the skirmish, Thaddeus's Gangers began trying to bring down the more lightly armed Goons and one of the recruits fell to a burst of autogun fire before the clown like gunman was blasted off his feet in return.


With the first room secured, the Goon Squad began moving forward, pushing through the cordon of gangers who were trying to hold them back and despite several heroic attempts by the gangers to hold them in one room, their losses meant that they found themselves outmanoeuvred and began to flee.


Hearing the desperate struggle outside, the gangers holding the first target room unsealed the door and rushed out to try and bring fresh fire at their foes but ran straight into the Killbot and despite managing to cause some damage to the hulking robot, were in turn hit with several accurate blasts, killing one and forcing the other to flee, badly wounded.

In the last room, the smuggler, having just been patched up by the Hab blocks medic, realised that things were looking grim and decided to make a run for it but one of the Goon Squad was waiting for him and despite a bit of a scuffle was soon captured having been given a few clouts with a shock baton.


With the capture of the smuggler, the game came to an end. Shunt's Goon Squad was victorious and have driven the Mad Barons gangers out of Glamour Heights (something the inhabitants have decidedly mixed views on) and the smuggler has been whisked away to face Inquisitor Fisher who wants to know what he was smuggling for Thaddeus.

So here's the results from the game, Thaddeus had five gangers taken out of play and three fled whilst his smuggler has been captured by Shunts goons.


In return, Shunts troops took one casualty and one fled. Many of his Goon Squad have been injured but will be available for the next game.


I rolled on the Planet 28 casualty table for each and while nobody died, one of my Gangers now has brain damage and another has a shattered hand whilst the rest have been shaken, giving them morale issues going forward. I also had one badly wounded who will be pretty fragile in future games and may end up needing cybernetic augmentation...

As for Shunt's cadet who was removed as a casualty is also shaken meaning his morale is even worse than it was before!

I did modify the game somewhat by halving everyones damage so I could play with fairly large gangs without taking ages and I had a really enjoyable time with the gangers giving a better account for themselves than I'd expected and what the end results really shows as early on it looked like the Goon Squad was going to get slaughtered but the Killbot really helped turn the tide in favour of Shunt's forces as the lightly armed gangers just didn't have anything that could stop it.

I suspect in future games, Thaddeus is going to shell out on some more powerful guns to kit out his crazy followers and will no doubt hold a grudge against the Goon Squad in general and the Killbot in particular.

My next game will involve some of the other forces of the Neo Trantor campaign but I also have the investigation of Inquisitor Fisher to deal with, especially as she now has the smuggler in custody, that is if Shunt will hand him over rather than using the information his goons will beat out of the guy for his own Imperial ambitions.
 
I'm really enjoying this campaign and can't wait to get some more games in as time allows and I've also managed to play another couple of sessions of my Colostle campaign so will be posting up the next update for that in the next couple of days once I've got the artwork done as its also developing into a really exciting campaign too!

In the meantime, All the best!